Homemade cinnamon rolls are soft, yeast-raised sweet rolls baked in one pan and topped with cream cheese frosting. These homemade cinnamon rolls are built for home cooks who want reliable weekend baking results using standard grocery ingredients. If you’re building a cozy weekend baking rotation, you can browse more sweet favorites in our dessert recipes.
This recipe works well for slower mornings, holiday breakfasts, or make-ahead brunch plans. The dough is mixed by hand or with a stand mixer. The steps are clear and repeatable. for an easy something sweet on the side 4 ingredient peanut butter cookies are a simple option when you want dessert without turning the oven back on.
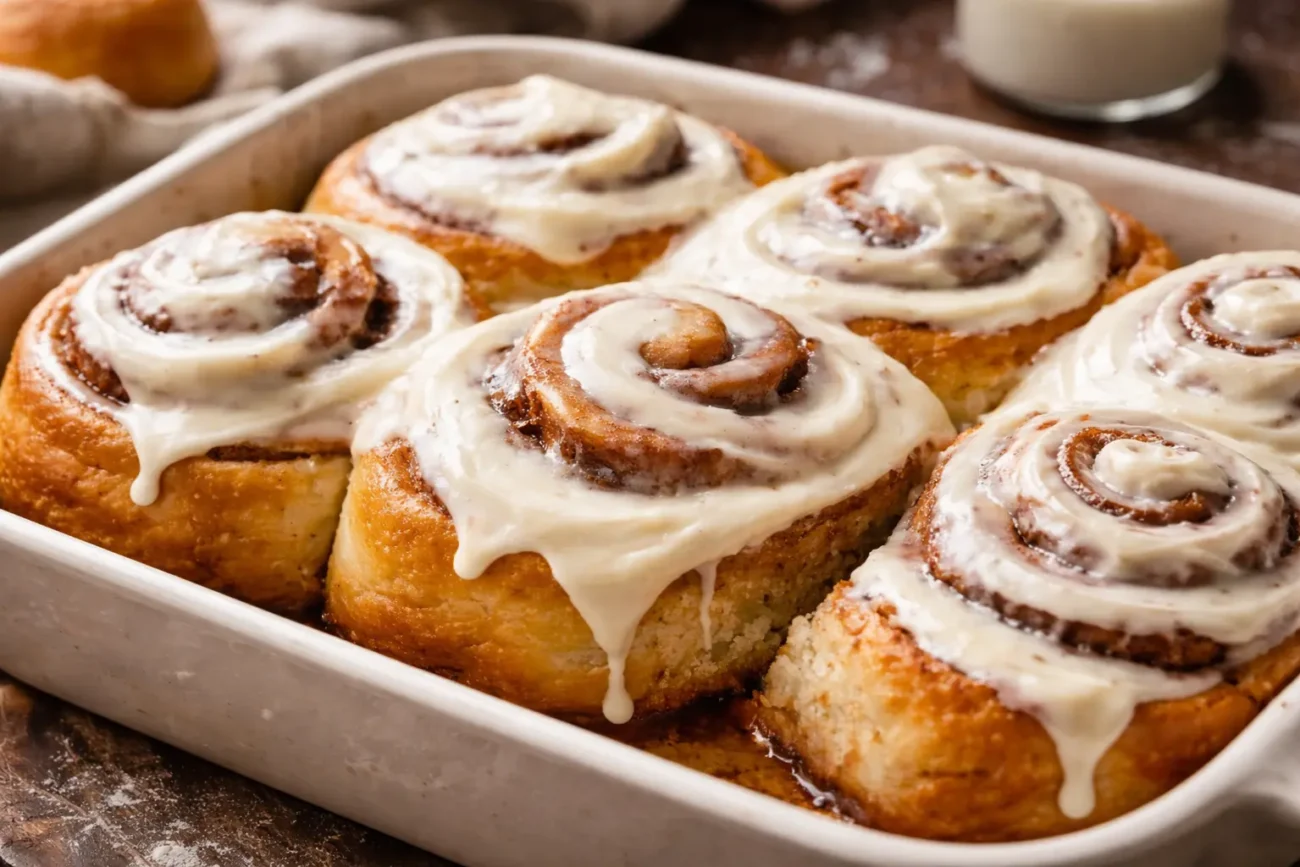
The rolls bake close together so they stay soft in the center. The cream cheese frosting melts slightly over the warm surface, creating a smooth finish without becoming runny.
If you want a dependable baking project that fits into regular home cooking, this method keeps structure simple and manageable.
Food Safety Advisory: Ensure rolls are fully baked before serving. The center should be set and no longer doughy. Because the frosting contains dairy, refrigerate leftovers within 2 hours and store in airtight containers.
For official U.S. safe handling guidance, refer to: USDA Food Safety and Inspection Service .
Time Breakdown
| Time Breakdown | |
|---|---|
| Prep Time | 25 minutes |
| Rise Time | 1 hour 40 minutes |
| Bake Time | 25 minutes |
| Total Time | 2 hours 30 minutes |
What Is Homemade Cinnamon Rolls with Cream Cheese Frosting
Homemade cinnamon rolls are yeast-based sweet rolls made from enriched dough. The dough contains milk, butter, sugar, and eggs, which create softness and structure. After rising, it is rolled out, filled with cinnamon sugar, then rolled and sliced before baking.
The texture is soft and slightly fluffy inside with lightly golden edges. Baking the rolls close together keeps moisture locked in. The filling forms a layered swirl, and the frosting spreads easily over warm rolls.
This recipe works because yeast builds structure while fat from butter and eggs keeps the crumb tender. The cream cheese frosting balances sweetness with slight tang, preventing the rolls from tasting overly sugary. And if you want to round out brunch with a savory bite, sausage breakfast muffin with a runny egg pairs perfectly with sweet rolls and hot coffee.
Ingredients
This recipe balances flour for structure, yeast for lift, butter for tenderness, and sugar for flavor. Each ingredient supports texture and moisture control.
For the Dough:
- 1 cup warm whole milk (about 110°F)
- 2 1/4 teaspoons active dry yeast (1 packet)
- 1/4 cup granulated sugar
- 1/3 cup melted butter
- 1 large egg
- 1/2 teaspoon salt
- 3 1/2 cups all-purpose flour
For the Filling:
- 1/2 cup softened butter
- 3/4 cup brown sugar
- 1 tablespoon ground cinnamon
For the Cream Cheese Frosting:
- 4 ounces cream cheese, softened
- 1/4 cup softened butter
- 1 cup powdered sugar
- 1/2 teaspoon vanilla extract
- 1–2 tablespoons milk (as needed for texture)
Step-by-Step Instructions
1. Activate the Yeast
Pour warm milk (about 110°F) into a large mixing bowl. The milk should feel warm to the touch but not hot. If it is too hot, it can kill the yeast.
Sprinkle the yeast evenly over the milk. Add 1 tablespoon of the sugar to help feed the yeast. Let it sit undisturbed for 5–10 minutes.
The surface should become lightly foamy and slightly bubbly. This shows the yeast is active. If the mixture stays flat and clear, the yeast may be expired and should be replaced before continuing.
2. Mix the Dough
Add the remaining sugar, melted butter (cooled slightly so it is not hot), egg, and salt. Stir gently until combined.
Begin adding flour 1 cup at a time. Mix slowly after each addition. As you add more flour, the dough will begin to thicken and pull away from the sides of the bowl.
When most of the flour is incorporated, the dough should look soft and slightly sticky but not wet. If it clings heavily to your fingers, add 1 tablespoon of flour at a time until manageable.
Transfer the dough to a lightly floured surface.
3. Knead the Dough
Using the heel of your hand, push the dough forward, then fold it back over itself. Rotate slightly and repeat. Continue for 6–8 minutes.
The dough should become smoother and more elastic as gluten develops. It should no longer feel rough or overly sticky.
Press the dough lightly with your finger. If it slowly springs back, it is ready.
Place the dough into a lightly greased bowl. Turn it once so the top is lightly coated. Cover with a clean towel.
Let it rise in a warm, draft-free area for about 1 hour. The dough should double in size and feel airy when gently pressed.
4. Prepare the Filling
In a small bowl, combine softened butter, brown sugar, and cinnamon. Stir until fully mixed.
The texture should be spreadable, similar to thick paste. If the butter is too firm, it may tear the dough when spreading. Let it soften further if needed. Set aside while the dough completes its rise.
5. Roll Out the Dough
After rising, gently press down on the dough to release excess air. Do not knead again.
Transfer to a floured surface. Roll into a rectangle about 14×9 inches. Keep the thickness even, about 1/4 inch throughout. Uneven thickness can cause uneven baking.
Spread the cinnamon filling evenly over the dough using an offset spatula or the back of a spoon. Leave a small 1/2-inch border along one long edge to help seal the roll.
6. Roll and Slice
Starting from the long side, roll the dough tightly but gently into a log. Try to keep the roll even from end to end so all slices bake uniformly.
If the dough sticks slightly, use a bench scraper to lift it carefully. Once rolled, pinch the seam lightly to seal.
Slice into 12 equal pieces using a sharp knife or unflavored dental floss. When slicing, use a gentle sawing motion or slide floss under the log, cross it over the top, and pull tight. Each slice should show a clear spiral pattern.
7. Second Rise
Place the rolls into a greased 9×13-inch baking dish. Leave a small amount of space between each roll.
Cover loosely and let rise for 30–40 minutes. During this time, the rolls should expand and begin to lightly touch each other. The tops will look slightly puffy. This second rise helps create soft texture inside.
8. Bake The Rolls
Preheat the oven to 350°F while the rolls finish rising.
Bake for 20–25 minutes. The tops should turn light golden brown. Avoid overbaking, as this can dry out the center.
To check doneness, gently press the center roll. It should feel set and not overly soft or wet. If unsure, bake 2–3 minutes longer. Remove from oven and let cool for 5–10 minutes before frosting.
9. Prepare the Frosting
In a mixing bowl, beat softened cream cheese and butter until smooth and lump-free. This step is important for a creamy texture.
Add powdered sugar and vanilla extract. Mix until fully combined.
If the frosting feels too thick to spread easily, add milk 1 tablespoon at a time. It should be smooth and spreadable but not runny.
10. Frost the Rolls
Spread the frosting evenly over the warm rolls using a spatula. The warmth will slightly melt the frosting, helping it settle into the surface.
Allow the rolls to sit for 5 minutes before serving so the frosting sets slightly.
If you prefer thicker frosting, let the rolls cool longer before spreading.
Nutrition Information
| Nutrition Information (Approximate, Per Roll) | |
|---|---|
| Calories | 380 |
| Protein | 6g |
| Carbohydrates | 55g |
| Fat | 16g |
| Fiber | 2g |
| Sodium | 220mg |
Nutrition Disclaimer: Nutrition information is provided as an estimate only and can vary based on ingredient brands, portion size, substitutions, and preparation methods.
Recipe Overview
These homemade cinnamon rolls work because the yeast builds structure slowly during two rises. The enriched dough holds moisture from milk and butter, preventing dryness.
Rolling the dough evenly ensures consistent baking. Baking the rolls close together keeps the interior soft.
The cream cheese frosting balances sweetness with slight tang. It spreads easily because it is applied while the rolls are warm, which helps it settle smoothly without separating.
Everything bakes in one dish, which keeps cleanup simple and prevents overbaking. For a fun holiday-brunch plate, red velvet waffles are another festive breakfast that feels special without being complicated.
Recipe At a Glance
| Detail | Information |
|---|---|
| Servings | 12 rolls |
| Skill Level | Beginner to Intermediate |
| Flavor Profile | Sweet, cinnamon-rich, lightly tangy |
| Cooking Method | Oven-baked |
| Make-Ahead Friendly | Yes, shape and refrigerate overnight |
Helpful Tips and Variations
- Use room-temperature ingredients for smoother dough mixing.
- If the dough feels sticky during kneading, add flour 1 tablespoon at a time.
- For overnight preparation, refrigerate shaped rolls after the first rise. Let them come to room temperature before baking.
- For a lighter frosting, reduce powdered sugar slightly and add extra cream cheese for balance.
Storage and Make-Ahead Notes
Store homemade cinnamon rolls covered at room temperature for up to 2 days. Keep them tightly wrapped or in an airtight container to prevent drying. If your kitchen is warm, refrigerate instead.
Refrigerated rolls will keep for up to 5 days. Let them sit at room temperature briefly before reheating. Warm individual rolls in the microwave for 15–20 seconds or reheat several rolls in a 300°F oven for about 10 minutes.
For longer storage, freeze unfrosted baked rolls for up to 2 months. Thaw overnight in the refrigerator, then reheat and add fresh cream cheese frosting before serving. If meal prep mornings are your thing, freezer breakfast burritos are another make-ahead staple that reheats reliably on busy weekdays.
Final Thoughts
Homemade cinnamon rolls fit well into weekend baking routines and holiday breakfasts. The structure stays simple, and the method remains reliable for repeat use. Because the dough and frosting rely on common ingredients, this recipe stays practical for long-term home cooking. When you’re ready for another rich dessert project, try basque cheesecake for a simple, bakery-style finish with minimal fuss.
Frequently Asked Questions
The most common reason is yeast that did not activate. Make sure the milk is warm (about 110°F) and not hot. If the yeast mixture does not foam after 10 minutes, start over with fresh yeast.
The tops should be light golden brown and the center roll should feel set when gently pressed. If the middle still feels doughy, bake 2–3 minutes longer and check again.
Yes. After slicing and placing the rolls in the baking dish, cover tightly and refrigerate overnight. In the morning, let them sit at room temperature until slightly puffy, then bake as directed.
Spread the filling evenly, then roll the dough tightly and pinch the seam to seal. Avoid adding extra butter beyond what the recipe calls for, since too much can cause pooling in the pan.
For a smooth melt-in layer, frost while the rolls are warm (after 5–10 minutes). For a thicker frosting layer that stays more defined, wait until the rolls are closer to room temperature.
General Disclaimer: The content published on bitesrecipes.com is provided for general informational purposes only. While recipes are tested and written with care, results may vary based on ingredients, equipment, and individual cooking conditions.
bitesrecipes.com does not guarantee specific outcomes and encourages readers to follow proper food handling, cooking, and storage practices.